MindSeer is best launched using the web link and to do this tutorial in full requires 512 MB of memory and the sample data (Launch MindSeer, Download Sample Data).
Getting Started
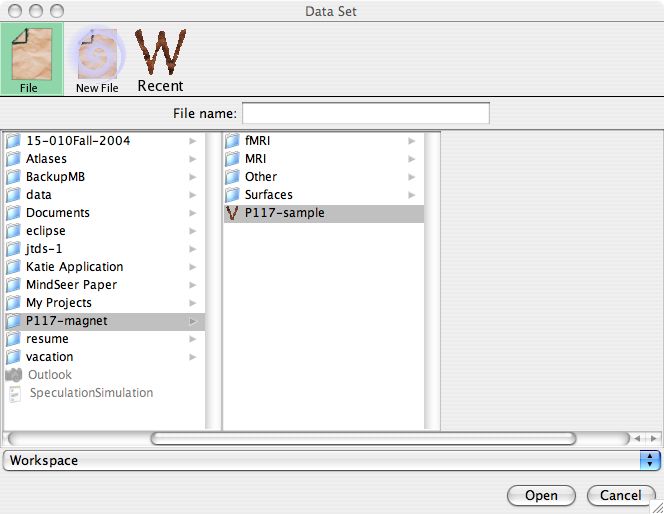
When MindSeer opens you will be presented with a dialog to select a Library. Libraries organize and manage data files. We already have a Library file available, so click [File] at the top of the dialog and browse to the sample data. Then select P117-sample and click [Open] (Note: click here if you want to create your own Library).
 |
After opening the data, you will be presented with a blank space on the right and the Library tree on the right. The Library is collapsed, so you will need to open the first layer by double clicking on Magnet and then opening successive layers to find the desired file.
Creating a 3D Scene
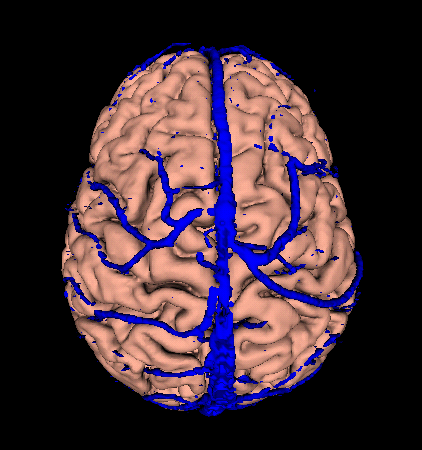
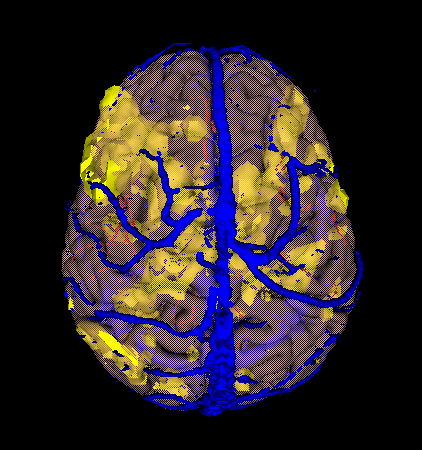
Our first 3D scene will consist of a cortical surface, arteries and veins.
Browse the tree on the left to Magnet/P117/Structural/Surface/Cortex/Cortex, select Cortex and click [Show]. 
- Now you can manipulate the cortex in the center of the image by clicking on it and dragging (Hint: you can use right click or control-click to move it in different ways)
- Now we want to add veins and arteries. Browse the tree to Magnet/P117/Structural/Surface/Veins/Veins and select Veins. Then click on Veins and drag it into the scene with the cortex. After it loads, you should have 2 models in the scene. Repeat this for arteries (Magnet/P117/Structural/Surface/Arteries/Arteries)
Your scene should look something like this: |
 |
The next section discusses how to make a scene with sagittal, coronal and transverse slices. You can also skip ahead if you want to add functional data to the 3D scene.
Creating a slice scene
- Browse the tree on the left to Magnet/P117/Structural/Volume/T1/T1, select T1 and click [Show]
Now we want to add some functional data. Browse the tree to Magnet/P117/Functional/Volume/fMRI/spmT and select spmT_0004. Then click on spmT_0004 and drag it into the scene with the structural MRI. It should come up in a warm/cold color scheme. On the right side you should be under the [Data] tab, ensure that spmT_0004 is selected in the drop down menu. Now browse to the Positive section and change the color from Warm to Red and then adjust the threshold to 3. 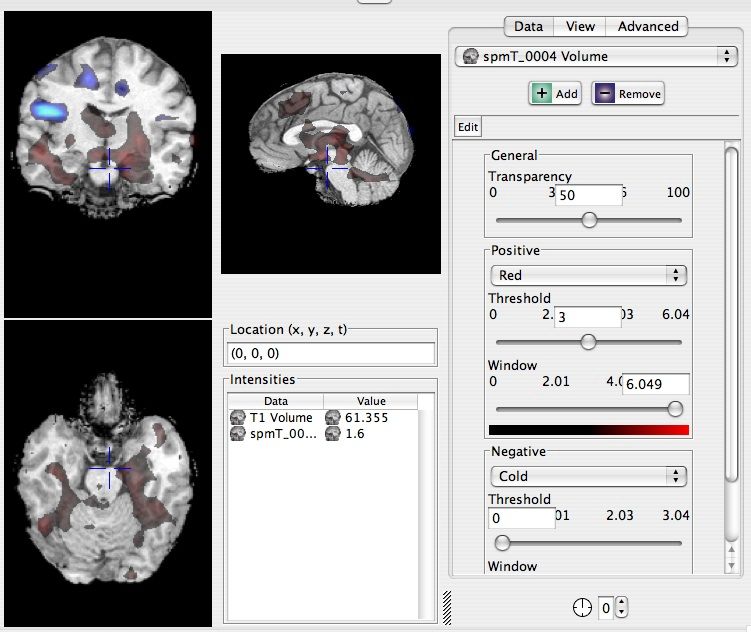
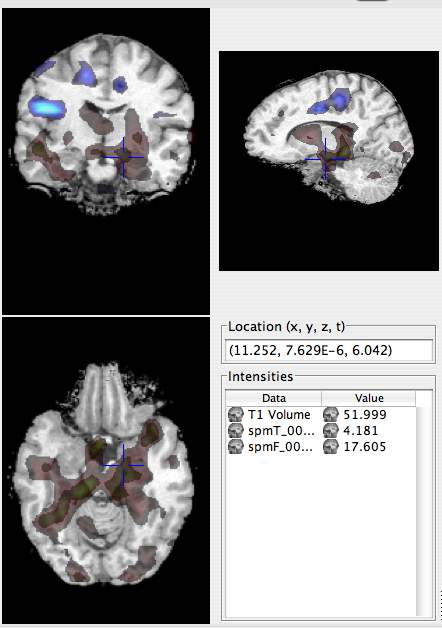
- Repeat this for spmF_0007 (Magnet/P117/Structural/Functional/fMRI/spmF_0007). Instead of Red for the positive scheme, choose Green and use a threshold of 15.
The final scene should look like this: |
 |
Adding fMRI and maps to your 3D scene
Each of the following 3 subsections starts with the results of Creating a 3D Scene.
| Making a Cutaway image |
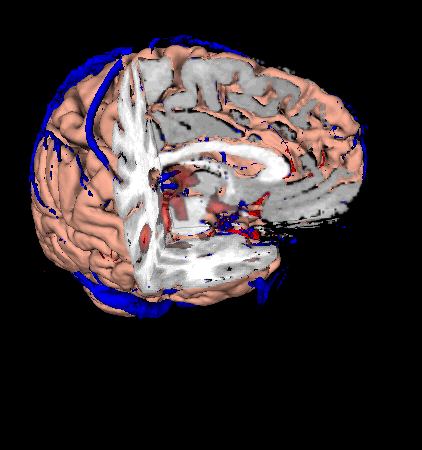 |
|
| Making the surface glow |
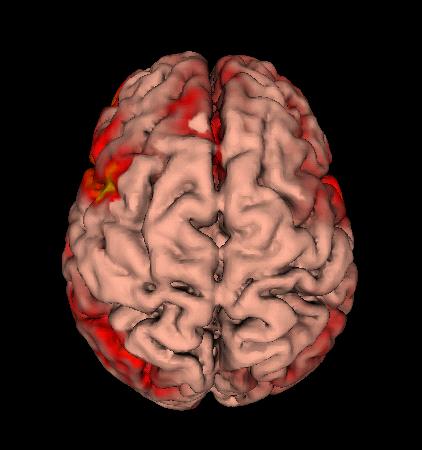 |
|
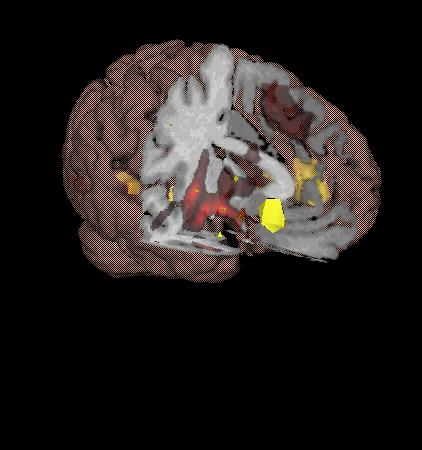
| Making an fMRI surfaces to see deep activation |
 |
|
| View with fMRI surfaces, cutaway and glowing surface |
 |
 |
| About |
| Download |
| Help |
Tutorials
|
| License |
| javadoc |
| Related Downloads |