A tutorial example for building this scene using the Digital
Anatomist Dynamic Scene Generator.
- Click on the link, "Scene Builder: skull
models".
- In the left-hand frame, navigate the FMA part-of hierarchy to find a model
to add to the scene. Click the following in order
- Human Body
- head
- skull
- neurocranium
At this level you will see several structures that have a black square
associated with them. The square indicates that there is a 3-D model "primitive"
associated with that concept in the FMA.
-
To select that primitive for inclusion in the scene click the black box.
For example, click the black box to the right of "frontal bone".
This structure will now be shown in the top frame. Click the "Add Structure"
link to add the selected structure to the scene. The scene will most likely
remain black, but the black box will now be replaced with an X, indicating
that the structure is in the scene.
- Manipulate the camera. In the right hand frame below the large black area
click the button labeled "Reset Camera". This will cause the camera
to point directly at the centroid of the scene, in this case frontal bone.
You should now see a rendering of this structure. Note that the structure
is colored white. This is because the DSG looked up the class of the structure
in the FMA (bone) and knows to color all bones white.
- Add another structure. In the left hand frame (the FMA browser) click "Ascend
to neurocranium", "Ascend to skull", "Skull", "viscerocranium".
. This will show the parts of the viscerocranium, many of which have primitive
models. Click the black box beside the left maxilla to select it, then click
the "Add Structure" link.
- Add a structure subtree all at once. After a very short while it will get
tedious to add one structure at a time. In the right hand frame below the
camera controls are some text boxes for performing operations on entire subtrees
of the FMA. For example, in the box labeled "Structure to display"
type "Skull". In the "Hierarchy to traverse" box select
"part of" (should already be selected), in the Operation box select
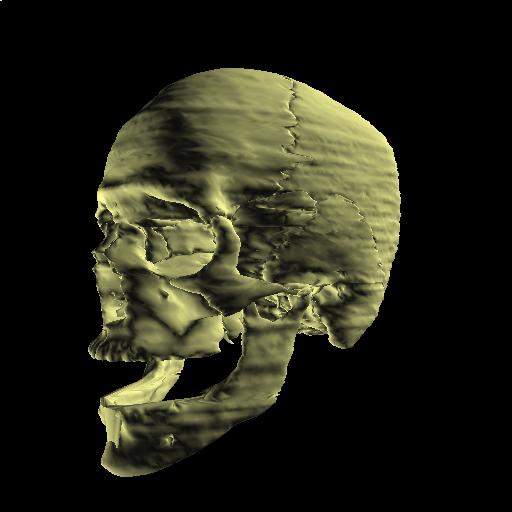
"New". Then click "Perform Operation". The entire Skull
(all meshes that are available for parts and subparts of the Skull) is added
to the scene. Reset the camera to see the entire scene.
- View the scene from other angles. Click the Rotate button to rotate right
45 degrees, or change the values of the rotation paramaters, then click rotate.
Zoom does as expected. Reset to return to the full scene view.
- Manipulate a structure in the scene. Click on one of the bones depicted
in the scene, say the "body of mandible". The selected structure
will appear in the selection frame at the top of the page. Click Highlight
Structure then Unhighlight, then Dissect to remove it from the scene. (Look
At seems to have bugs at the moment).
- Save the scene as VRML. Click "Create VRML", wait about a minute
depending on the complexity of the scence. Then click on "TreeRoot".
If you have a VRML browser installed this should display the scene in your
browser. May not work or may be too slow for large scenes.
Last modified 8/24/2004 by jfb